I thoroughly enjoy the phrase, ‘the top mirrors the bottom,’ it’s so pertinent in so many different spheres of life. When it comes to bonsai cultivation we reference this phrase by the establishment of a root system that allows for the top growth to develop into that beautiful refined and ramified structure we all aspire too.
Repotting is too broad and interesting of a topic to cover in one post, so to keep this concise we will look at snap shots of the process, complimented with a brief explanation.
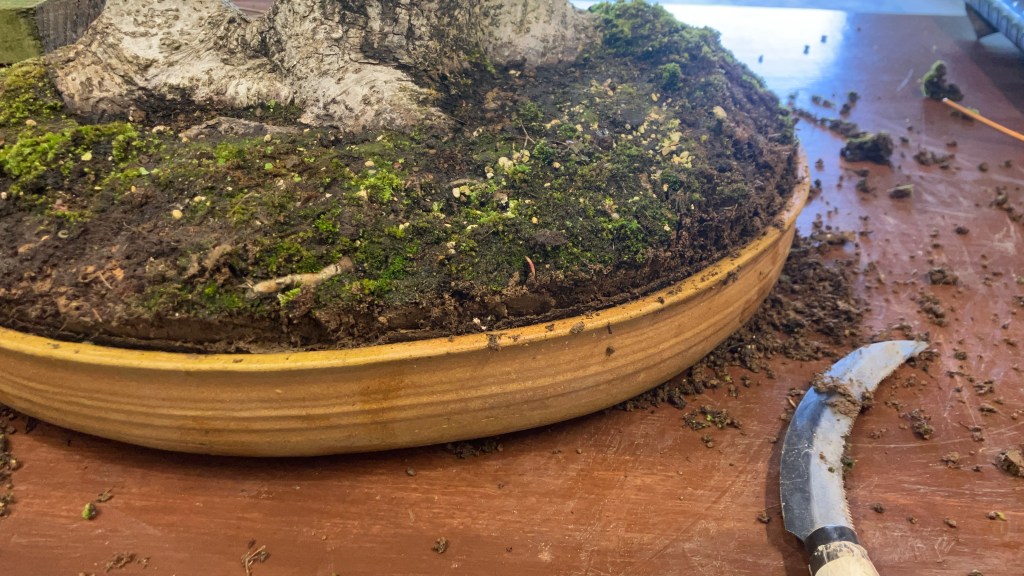
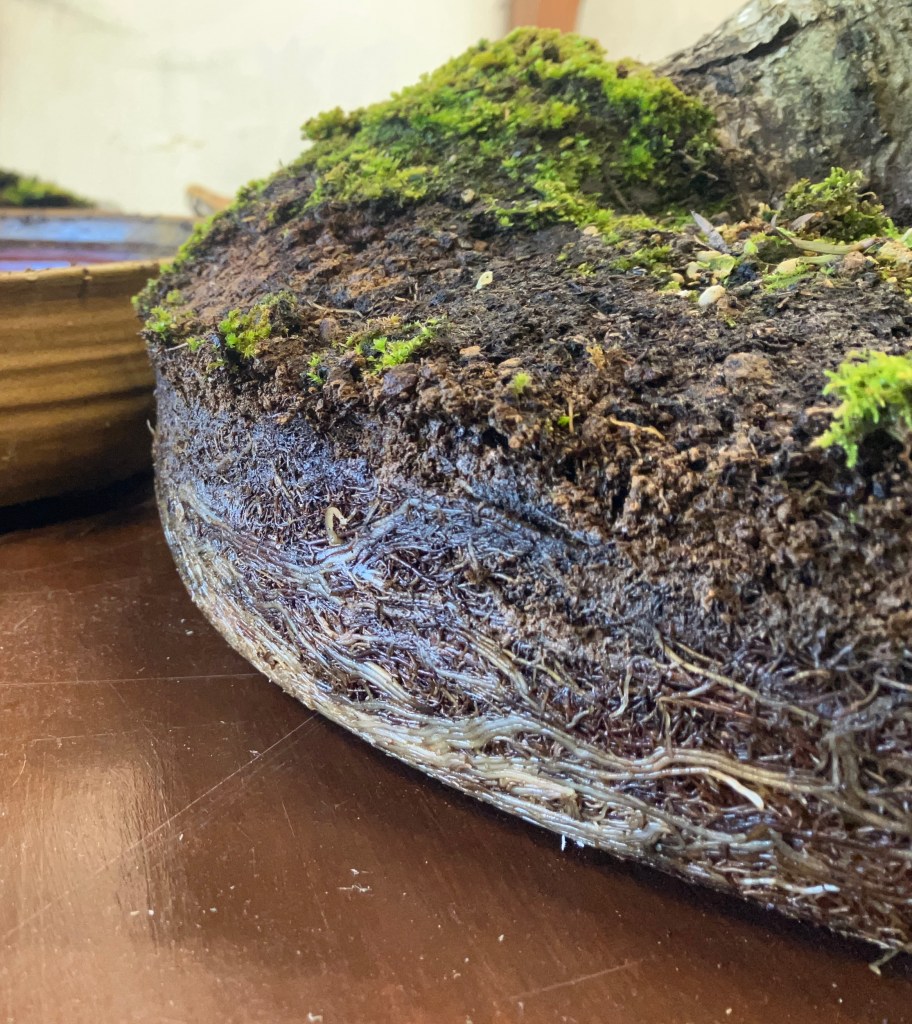
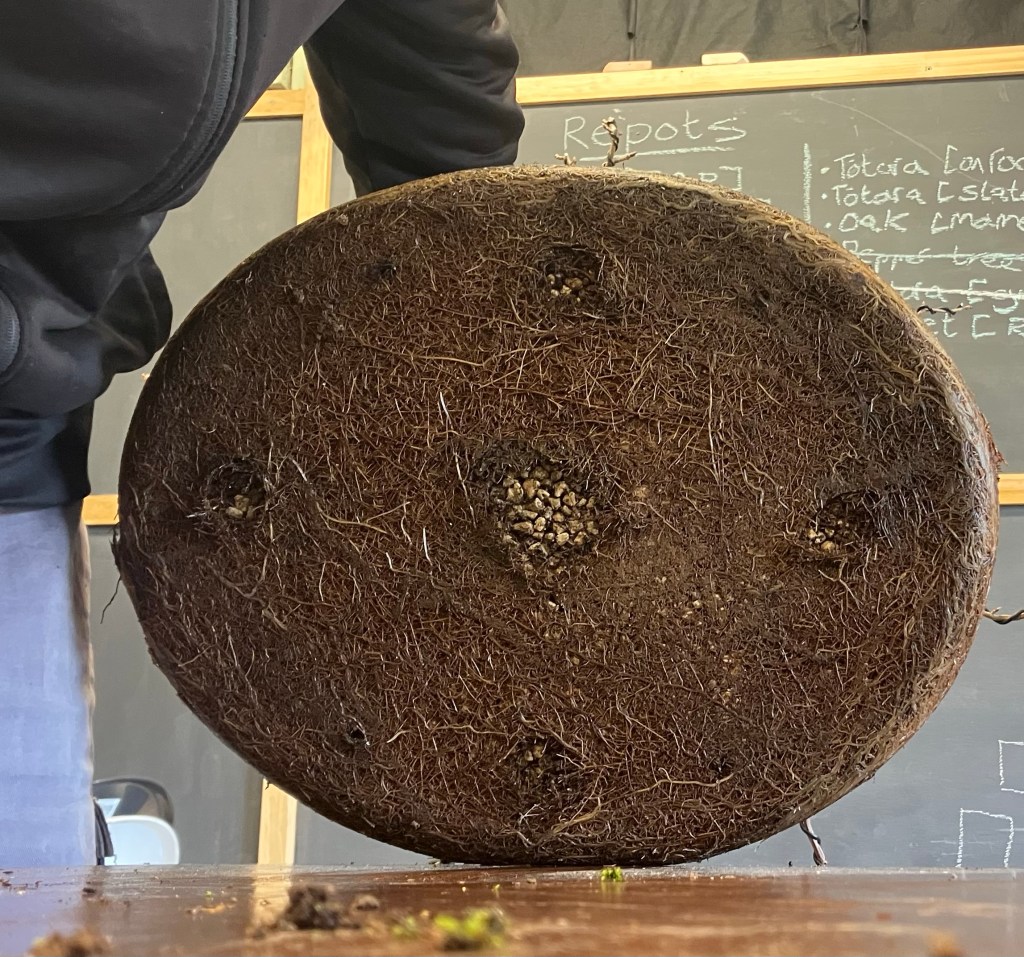
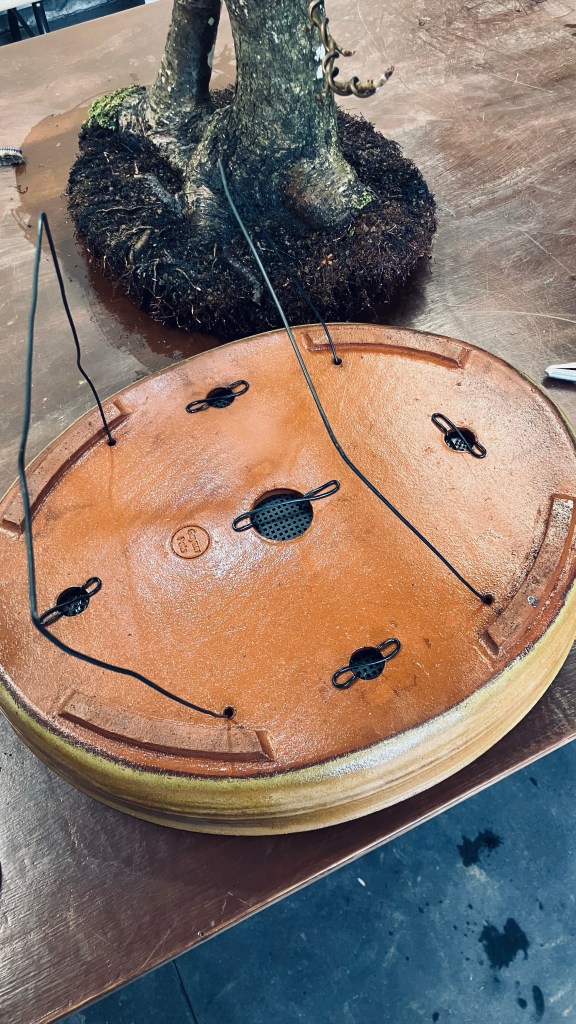
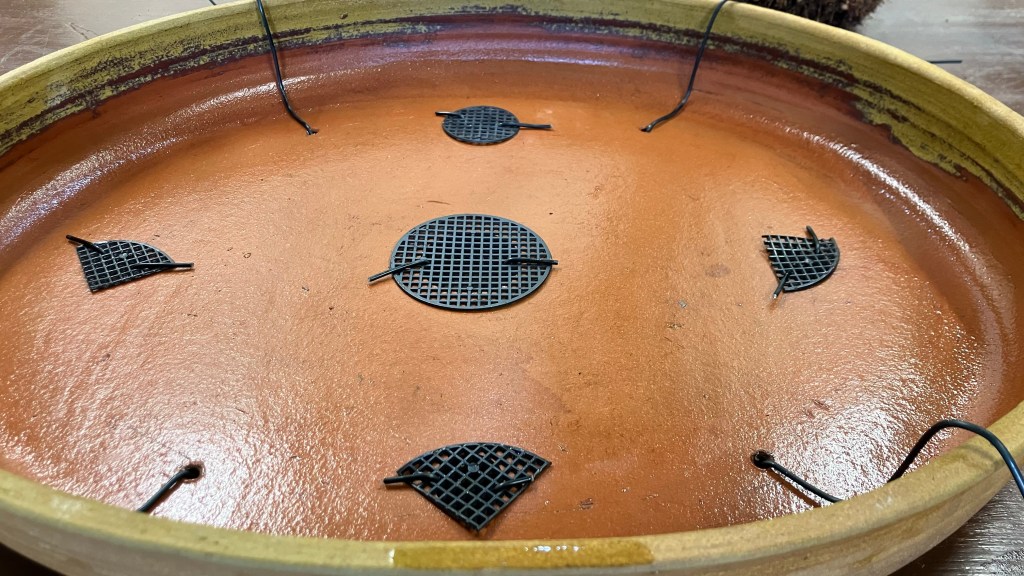
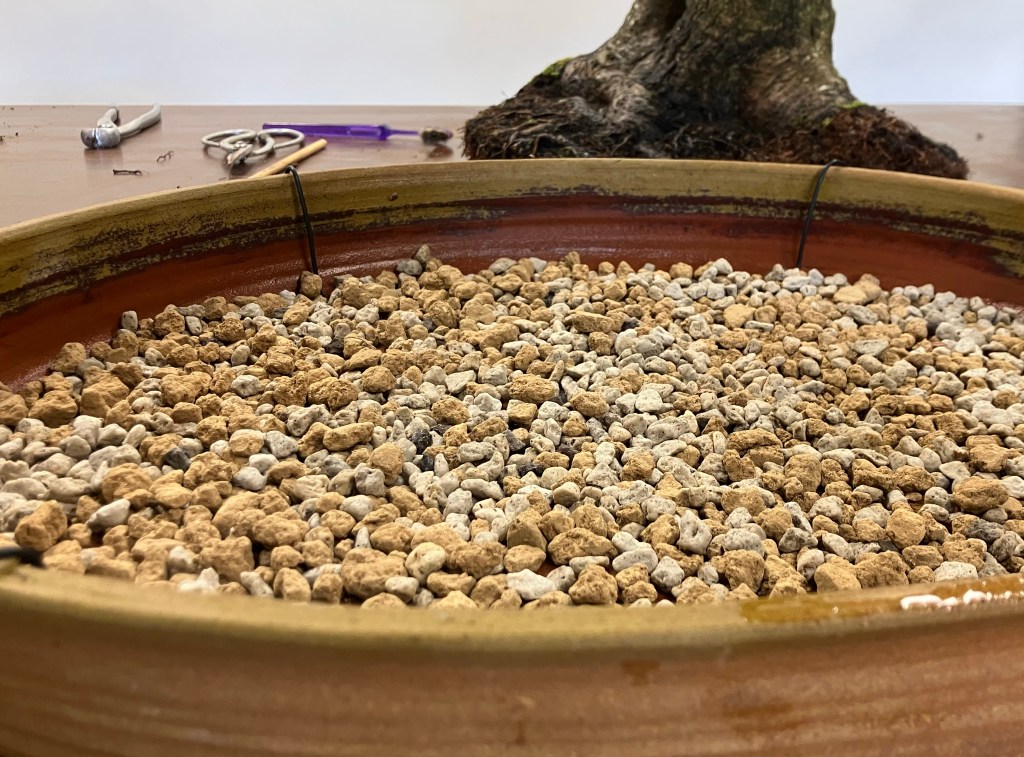
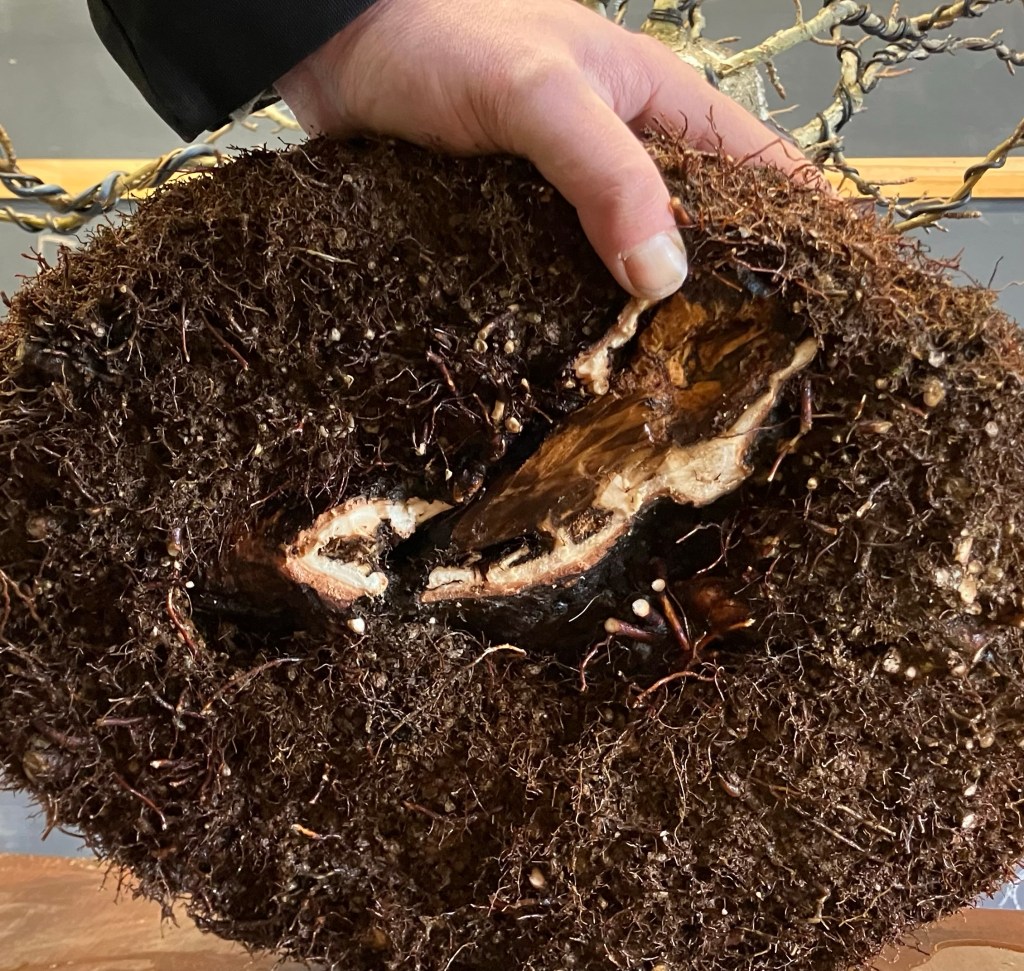
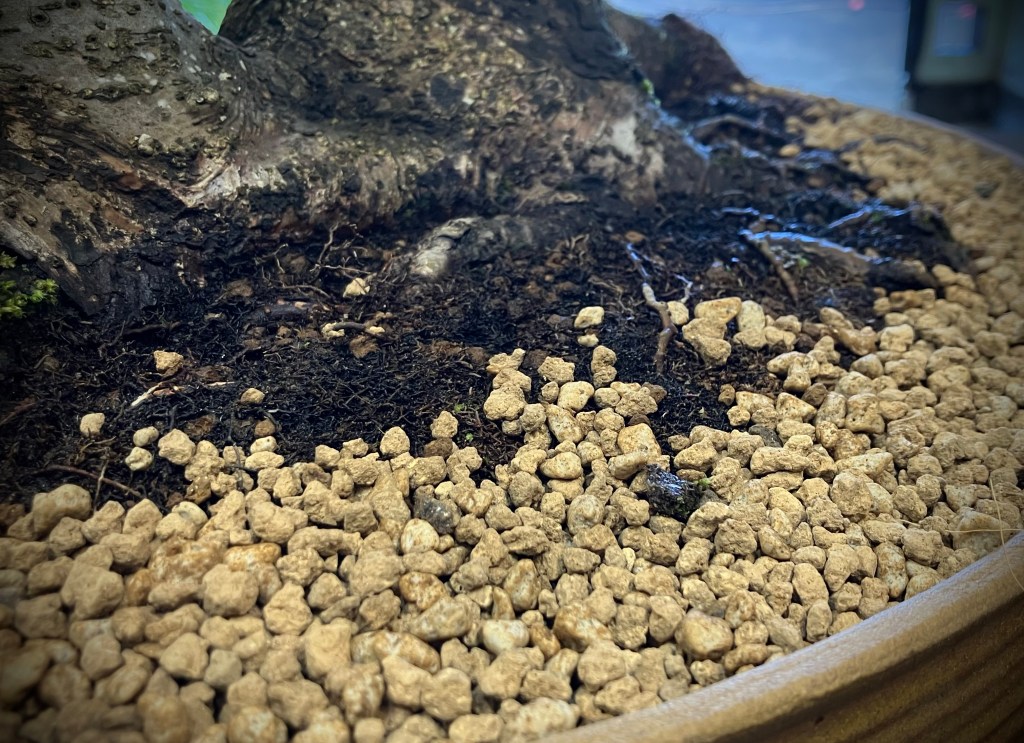
Removal of a tree doesn’t require a pot to be destroyed, despite how tight it is in there. A sickle is a must and great tool to have at your disposal at this time of year! Be careful of those fingers when in use! A good view of those roots tightly packed on the edge of the rootball. All this is removed at repotting time.The underside of the rootball. A dense mat of roots! This tree was in this pot for 3 years. The tree was potted in 100% akadama and I was pleased to see the substrate in good condition. The benefits of akadama is a post on its own.We take great care in the preparation of our pot for the securing of the tree. Drainage screens neatly secured, tie down wires allocated and the pot cleaned ready to receive the tree.The top view. I have seen some really interesting aeration layers, some might even call them boulders. Please consider the space inside your ceramic as prime real estate, to waste space with overly sized particles for an aeration layer is only working against you. One layer thick of 6-9mm akadama and pumice particles in this scenario is sufficient.The reality of a collected deciduous tree. The root system is wild and will almost always have large roots. Our goal overtime is to reduce these in order to promote those surface roots (nebari) to establish and take over as the main root system. Portrayed here is the further weakening of the large root under the tree, but the important thing to take note of here is the exterior of the root ball. You have to establish that dense fine root system in order to allow you to get into those larger roots and remove, we are not wanting to stall the energy of the tree or worse cause any health issues.
For those eagle eyed viewers, you would have guessed there was still some field soil packed tightly amongst those large roots and it shows as a great example of how roots will not grow in that, hence the sparser root density. Our goal with this repotting is to change that and with the next repotting in 3 years hopefully remove the last of the big root altogether.
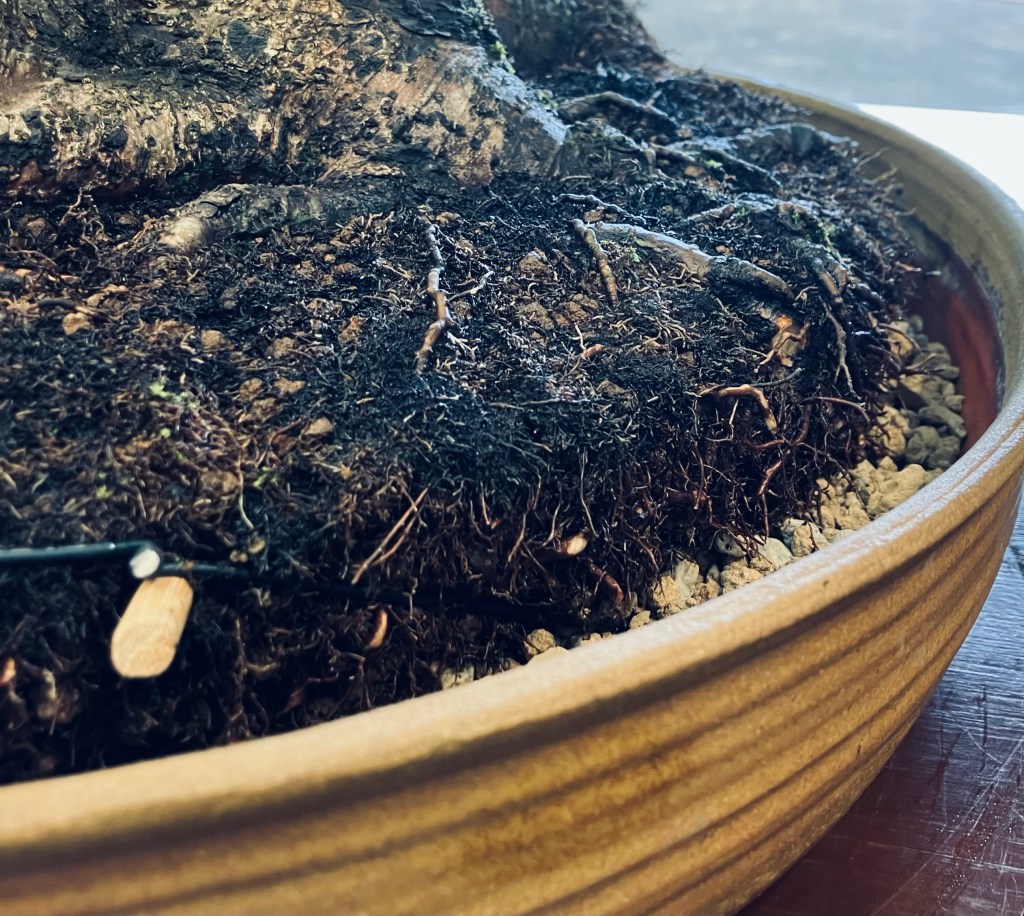
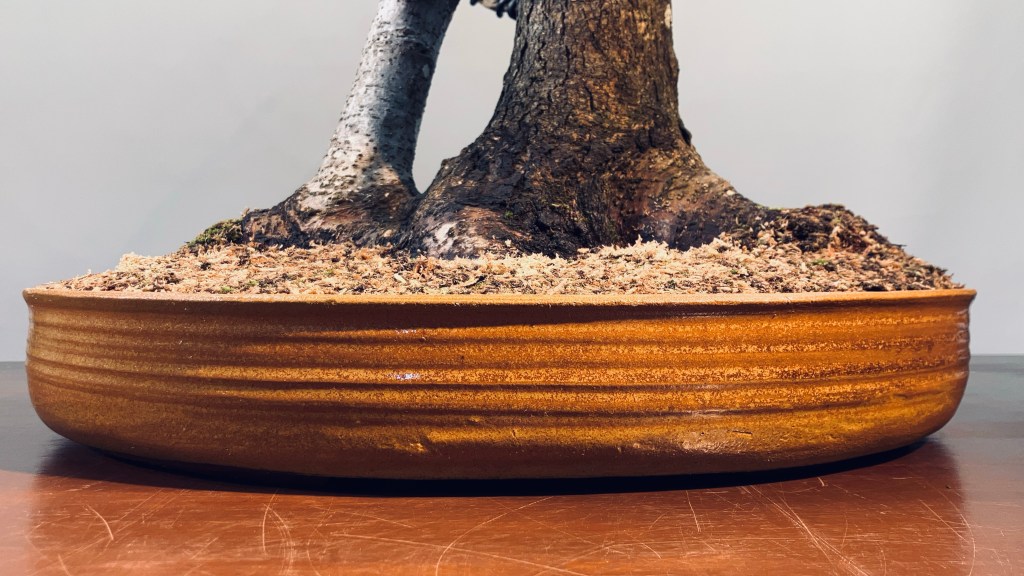
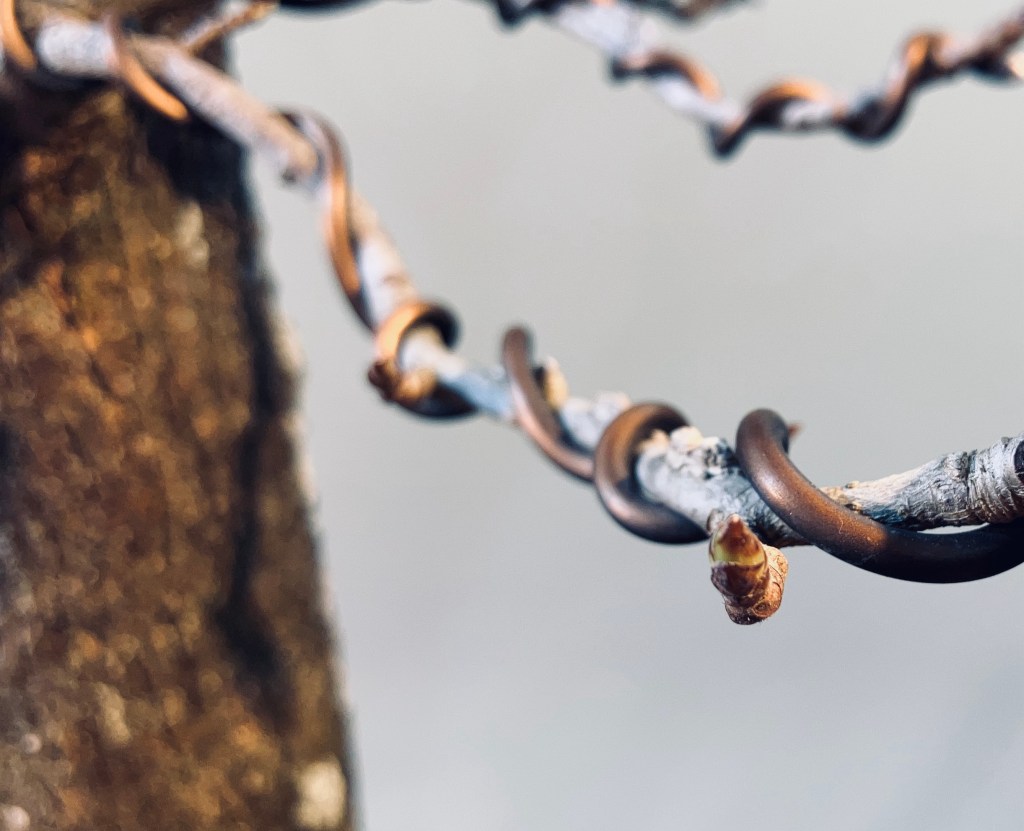
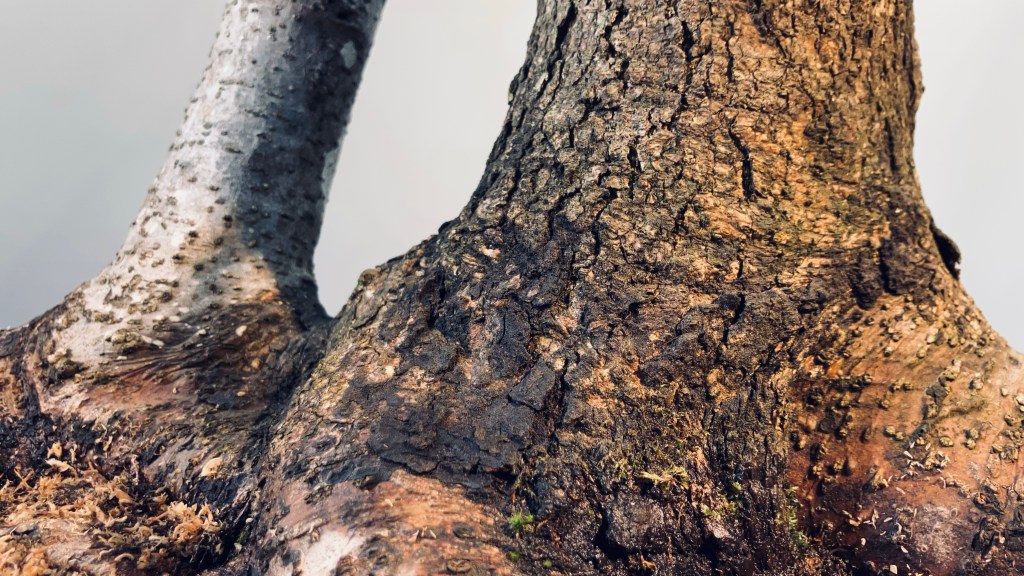
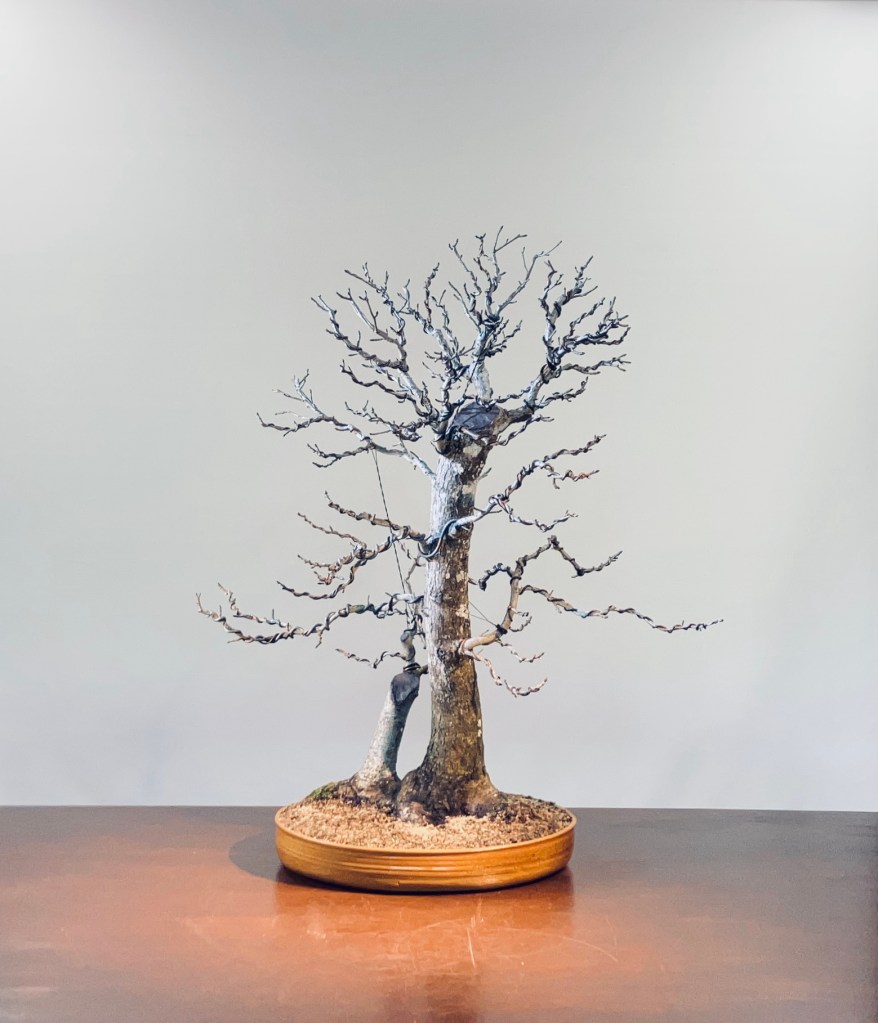
You will find many actions we take in bonsai are not driven just by aesthetics like having a nice nebari but it’s also ‘rooted’ in horticulture, we don’t want to have a pot filled with large roots but with fine feeder roots.There’s never a good excuse to see tie down wires…..The nebari starting to take shape, liquid ambers are strong rooters so the quicker we can push that energy to the surface the quicker our nebari will form. A great view of that pot colour. A local potter here in New Zealand, Selwyn Hatrick really produced a magnificent glaze here, one I think he was even surprised of. Love this pot! When do we repot? There’s a trend in New Zealand to repot very early, in the dead of winter. The reality is, we have the tree to tell us when, the buds now starting to move, the best time to repot this tree.A great view of that bark forming. The finished product for today. The top layer of soil dressed with a mix of grated sphagnum moss and green moss, this is done to create a more stable soil surface to allow the roots to grow near the soil surface and maximise the space of the entire pot.



Leave a Reply